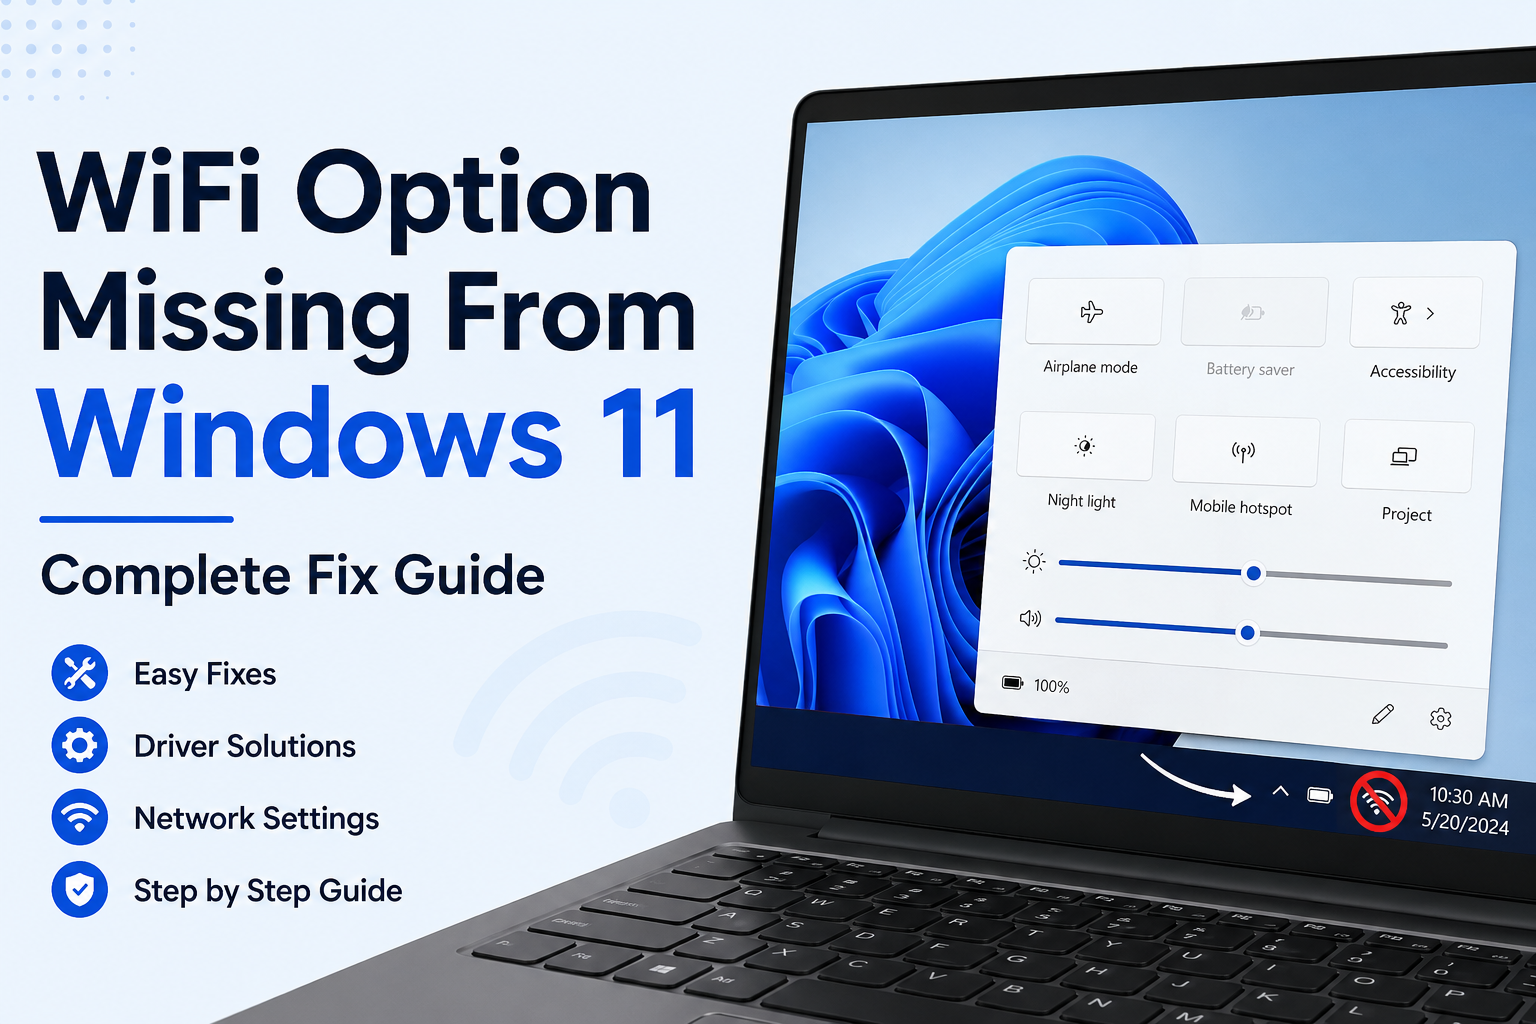
If the WiFi option is missing from Windows 11, it can be surprisingly frustrating. You may open the Quick Settings panel and discover that the WiFi button has completely disappeared. Sometimes Windows shows only Bluetooth, Airplane mode, or other settings while the wireless network option is nowhere to be found.
I have seen this problem happen after Windows updates, driver changes, accidental settings changes, and even simple system glitches. The good thing is that a missing WiFi option does not always mean your wireless hardware is damaged. In many cases, the problem can be fixed with a few changes in Windows 11.
In this guide, I will explain the most useful ways to fix the WiFi option missing from Windows 11 problem. I recommend starting with the simple solutions and moving toward the advanced methods only if the problem continues.
Why Is the WiFi Option Missing in Windows 11?
There can be several reasons why the WiFi option disappears from Windows 11.
The wireless adapter may be disabled, the WiFi driver could be outdated or corrupted, a recent Windows update may have caused a compatibility problem, or an important Windows network service may not be running correctly.
Sometimes Airplane mode or a hardware WiFi switch can also prevent wireless networking from working.
Another possibility is that Windows cannot detect your wireless adapter at all. This can happen because of driver problems or, in less common situations, a hardware issue.
Before assuming that your WiFi card has failed, it is worth going through the software solutions below.
Restart Your Windows 11 Computer
The first solution I recommend is also one of the easiest.
Restart your computer.
Windows can occasionally experience a temporary problem where the wireless adapter does not initialize correctly after startup. A complete restart gives Windows another opportunity to detect the adapter and load its required services and drivers.
After restarting, click the network icon on the taskbar and check whether the WiFi option has returned.
If it has, there is probably no serious problem with your computer.
Check Airplane Mode
Airplane mode disables wireless communication on your computer. Although Windows usually makes this setting obvious, it can sometimes be enabled accidentally.
Press Windows + A to open Quick Settings.
Look for Airplane mode and make sure it is turned off.
If Airplane mode is enabled, disable it and wait a few seconds. Then check whether the WiFi option appears.
You can also open Windows Settings and check the network section manually.
This is a simple step, but I always recommend checking it before making advanced changes.
Check the Physical WiFi Key
Some laptops have a physical wireless switch or a keyboard shortcut that controls WiFi.
Look at your keyboard for a key with a wireless symbol. Depending on the laptop manufacturer, you may need to press the WiFi key by itself or together with the Fn key.
If your laptop has a physical wireless switch, make sure it is enabled.
This is particularly important if the WiFi option disappeared suddenly after accidentally pressing a keyboard shortcut.
Enable the WiFi Adapter
One of the most common reasons for a missing WiFi option is a disabled wireless adapter.
To check it, right click the Start button and open Device Manager.
Expand Network adapters.
Look for an adapter with names such as Wireless, WiFi, WLAN, Intel Wireless, Realtek Wireless, Qualcomm Wireless, or MediaTek Wireless.
If the adapter has a small downward arrow, it may be disabled.
Right click the adapter and select Enable device.
After enabling it, wait a few seconds and check the Windows 11 taskbar again.
If the WiFi option returns, the problem was simply a disabled network adapter.
Update the WiFi Driver
Drivers allow Windows to communicate with your computer hardware. If the WiFi driver is outdated, damaged, or incompatible, Windows may not display the wireless option correctly.
Open Device Manager and expand Network adapters.
Right click your wireless adapter and select Update driver.
Choose the option that allows Windows to search for an available driver.
If Windows finds a newer driver, install it and restart the computer.
For some laptops, the manufacturer website may provide a newer driver than Windows Update. If Windows cannot find anything, checking the support page for your laptop model can be helpful.
Make sure you download the driver specifically designed for your Windows version and laptop model.
Reinstall the WiFi Driver
If updating the driver does not help, reinstalling it can sometimes solve the problem.
Open Device Manager and find your wireless adapter.
Right click it and select Uninstall device.
Follow the instructions and restart your computer.
Windows may automatically detect the wireless adapter after restarting and install a suitable driver.
If Windows does not reinstall the driver automatically, you may need to download the correct driver from your laptop or motherboard manufacturer’s official website.
This method is especially useful when the driver installation has become corrupted.
Check Windows Network Services
Windows relies on several background services for networking.
If important services are not running correctly, WiFi may not work as expected.
Press Windows + R, type:
services.msc
and press Enter.
Look for services related to WLAN and network connectivity. In particular, check WLAN AutoConfig.
Open its properties and make sure the startup type is set appropriately and that the service is running.
If WLAN AutoConfig is stopped, start the service and then check your WiFi option again.
This service is important because it helps Windows manage wireless network connections.
Run the Windows Network Troubleshooter
Windows 11 includes built in troubleshooting tools that can automatically detect certain network problems.
Open Settings, then go to System and select Troubleshoot.
Choose Other troubleshooters and look for the network related troubleshooter.
Run the available troubleshooting tool and follow the instructions on screen.
It may detect a disabled adapter, network configuration problem, or another issue affecting connectivity.
The troubleshooter cannot fix every problem, but it is worth trying because it is quick and safe.
Check Windows Update
Sometimes a Windows update can fix an existing WiFi problem. In other cases, a recent update may have caused driver compatibility issues.
Open Settings and select Windows Update.
Check for available updates and install any important updates.
After installation, restart your computer and check the WiFi option.
If the problem started immediately after a major Windows update, you may also want to check whether a newer update is available that addresses the issue.
Keeping Windows updated is generally a good idea because networking drivers and system components receive improvements over time.
Reset Network Settings
If the WiFi option is still missing, resetting Windows network settings can be a useful next step.
Open Settings, select Network and Internet, then open Advanced network settings.
Look for the Network reset option.
A network reset removes and reinstalls network adapters and returns several networking settings to their default state.
Keep in mind that you may need to reconnect to your WiFi networks afterward. If you have custom network configurations, make sure you know those settings before performing the reset.
After the reset is complete, restart your computer and check whether WiFi is available again.
Use Command Prompt to Reset Network Components
If normal network settings do not solve the issue, you can reset several Windows networking components using Command Prompt.
Open Command Prompt as administrator and run the following commands individually:
netsh winsock reset
netsh int ip reset
ipconfig /flushdns
After running the commands, restart your computer.
These commands can repair certain network configuration and DNS related problems.
They are useful when Windows recognizes the network adapter but networking is still behaving incorrectly.
Check Hidden Network Adapters
Sometimes the WiFi adapter may not appear normally in Device Manager.
Open Device Manager and select View from the top menu.
Choose Show hidden devices.
Now expand Network adapters again and look for the wireless adapter.
If you find it listed but disabled, try enabling it.
If the adapter has a warning symbol, Windows may be experiencing a driver or hardware problem.
You can open the adapter properties and check the Device status section for more information.
Check BIOS or UEFI Settings
If Windows cannot detect the WiFi adapter at all, the wireless hardware may be disabled at the firmware level.
Restart your computer and enter the BIOS or UEFI setup using the appropriate key for your manufacturer.
Look for settings related to wireless devices, WLAN, internal network devices, or onboard devices.
Make sure wireless networking is enabled.
The exact BIOS menu is different for every computer, so avoid changing unrelated settings if you are not familiar with BIOS configuration.
Consider a Hardware Problem
If none of the software solutions work and the WiFi adapter does not appear anywhere in Device Manager, there is a possibility of a hardware problem.
This is more likely if the laptop has recently been dropped, opened for repair, exposed to liquid, or has experienced another physical issue.
For a desktop computer, make sure the wireless adapter or WiFi card is properly connected.
You can also test the computer with a compatible USB WiFi adapter. If the USB adapter works normally, the internal wireless hardware may need further inspection.
Final Thoughts
When the WiFi option is missing from Windows 11, there is usually a logical reason behind it. The problem can be caused by a disabled adapter, outdated driver, Windows service, network configuration, Airplane mode, or a temporary system issue.
I recommend starting with the easiest solutions. Restart Windows, check Airplane mode, look for a physical WiFi switch, and inspect the wireless adapter in Device Manager.
If that does not work, update or reinstall the WiFi driver and check the WLAN AutoConfig service. You can then move toward network reset and Command Prompt solutions.
If Windows cannot detect the wireless adapter at all, checking hidden devices, BIOS settings, and eventually the hardware itself becomes more important.
The most important thing is not to panic when the WiFi option disappears from Windows 11. In many cases, the wireless adapter is still working and only needs to be enabled, repaired, or given the correct driver.
By following these solutions one at a time, you should be able to identify the cause and restore WiFi connectivity without immediately reinstalling Windows or taking your computer to a repair shop.