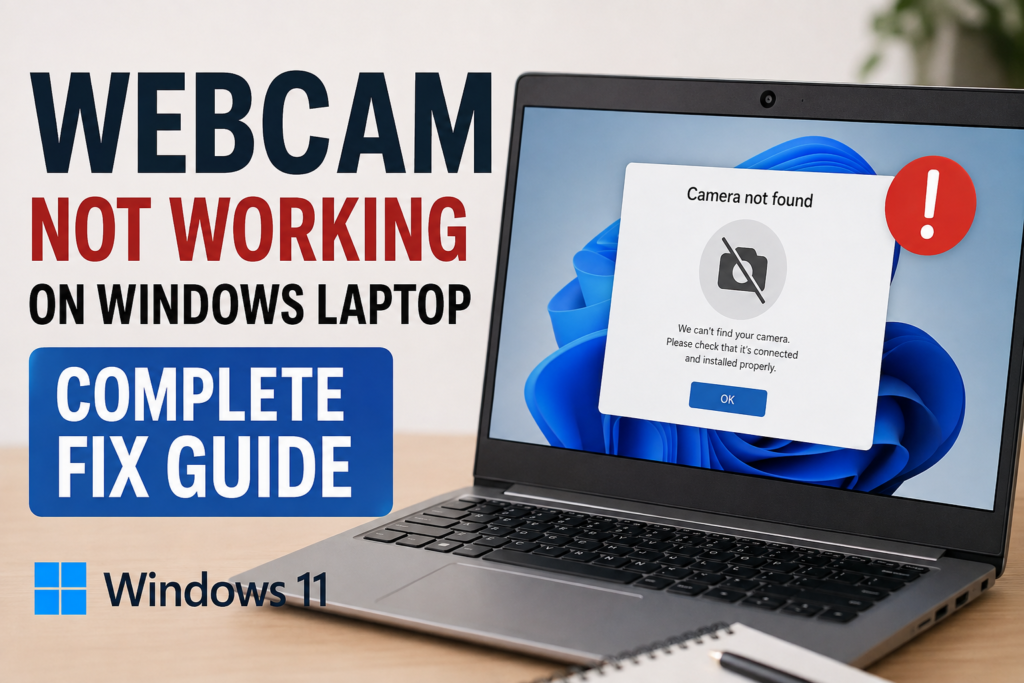
A webcam is one of those laptop features that we usually do not think about until it suddenly stops working. Whether you are trying to join a Zoom meeting, attend a Google Meet call, use Microsoft Teams, or simply open the Camera app, a webcam problem can become frustrating very quickly.
I have faced webcam issues on Windows laptops where the camera was completely black, the camera was not detected, or an application showed an error saying that it could not access the camera. In many cases, the webcam itself was perfectly fine. The actual problem was related to privacy settings, drivers, another application using the camera, or a temporary Windows issue.
The good news is that you can usually fix a webcam that is not working on a Windows laptop without replacing the camera. In this complete guide, I will explain the solutions I personally recommend trying, starting with the easiest methods and moving toward more advanced troubleshooting.
Why Is My Webcam Not Working on Windows Laptop?
There are several possible reasons why your laptop webcam may stop working.
Windows may not have permission to access the camera. Another application could already be using the webcam. The camera driver may be outdated or corrupted. A recent Windows update could have changed a setting, or the camera might have been disabled through a keyboard button or a hardware privacy switch.
Sometimes the problem is also specific to one application. For example, your webcam may work perfectly in the Windows Camera app but fail in Microsoft Teams or another video calling application.
Because there are several possible causes, I recommend testing the webcam after each solution instead of changing many settings at once.
1. Check the Physical Camera Switch
Before changing anything in Windows, check your laptop carefully.
Some laptops have a physical privacy shutter over the webcam. If the shutter is closed, the camera will appear to be unavailable even though Windows is working normally.
Some laptop models also have a dedicated camera key or a keyboard shortcut that disables the webcam. Look at the function keys for a small camera icon.
If your laptop has a privacy switch, make sure it is turned on. Then open the Windows Camera app and test the webcam again.
This is one of the easiest solutions, but it is also one of the most commonly overlooked.
2. Restart Your Windows Laptop
If the camera suddenly stopped working, restart your laptop before trying complicated fixes.
A restart can close applications that may be using the webcam in the background and can also reload camera drivers and Windows services.
Select the Start menu, choose the power option, and select Restart.
After Windows starts again, open the Camera app and check whether the webcam is working.
If the camera starts working after a restart, the issue was probably temporary. If it still does not work, continue with the next solution.
3. Check Windows Camera Privacy Settings
Windows has privacy controls that allow you to decide which applications can access your camera.
Open Settings and go to Privacy & security. Select Camera.
Make sure camera access is turned on. Also check that applications are allowed to access your camera.
If you are trying to use a desktop application such as a video conferencing program, make sure the option that allows desktop applications to access the camera is enabled.
This setting is especially important after installing Windows updates or privacy software because permissions can sometimes change.
4. Test the Camera With the Windows Camera App
Before troubleshooting Zoom, Teams, Google Meet, or another application, test the camera using the built in Windows Camera app.
Open the Start menu and search for Camera.
Launch the application and wait for the webcam preview to appear.
If the camera works in the Camera app but not in another application, your webcam hardware is probably fine. The problem is more likely related to the other application’s camera settings or permissions.
If the Camera app also shows a black screen or says that the camera cannot be found, continue troubleshooting Windows itself.
5. Close Other Applications Using the Webcam
A webcam normally cannot be controlled properly by multiple applications at the same time.
For example, if Microsoft Teams is already using your camera, another application may not be able to access it.
Close applications that could be using the webcam. This includes video calling applications, browser tabs with camera permissions, recording software, and other communication programs.
After closing them, open the Camera app again.
If necessary, restart Windows and test the webcam before opening any other application.
6. Check the Camera in Device Manager
Device Manager is one of the most useful Windows tools for troubleshooting webcam problems.
Right click the Start button and select Device Manager.
Look for Cameras or Imaging devices. Expand the section and find your laptop’s webcam.
If you can see the camera, right click it and open Properties. Check the device status for any error message.
If the camera has a warning icon, Windows may have a driver problem.
If the camera is disabled, right click it and choose the option to enable the device.
After enabling it, restart your laptop and test the webcam.
7. Update the Webcam Driver
An outdated or corrupted camera driver can cause many webcam problems.
Open Device Manager and find your camera. Right click it and select Update driver.
Allow Windows to search for an available driver.
If Windows finds a suitable driver, install it and restart your computer.
I also recommend checking your laptop manufacturer’s official support website. Laptop manufacturers often provide camera drivers specifically designed for their hardware.
Avoid downloading drivers from unknown websites because installing the wrong driver can create additional problems.
8. Reinstall the Camera Driver
If updating the driver does not fix the problem, reinstalling it may help.
Open Device Manager, find your camera, right click it, and select Uninstall device.
Follow the instructions and then restart your laptop.
Windows may automatically reinstall the camera driver after restarting.
If the webcam still does not appear, visit your laptop manufacturer’s support website and download the correct camera driver for your exact laptop model.
This solution can be very effective when a driver installation has become corrupted.
9. Run the Windows Camera Troubleshooter
Windows includes troubleshooting features that can identify certain camera problems automatically.
Open Settings, go to System, and select Troubleshoot. Then open Other troubleshooters and check whether a camera troubleshooter is available on your version of Windows.
Follow the instructions provided by Windows.
The available troubleshooting options can vary depending on your Windows version, but it is always worth checking before making more advanced changes.
10. Check Windows Update
Windows updates can include driver improvements and fixes for hardware compatibility.
Open Settings and go to Windows Update.
Select Check for updates and install available updates.
Restart your laptop after the installation.
If your webcam stopped working immediately after a Windows update, check whether another update is available. Manufacturers sometimes release updated drivers after Windows changes affect certain laptop models.
11. Check Your Camera Settings Inside the App
If your webcam works in the Camera app but not in a video calling application, check the application’s own settings.
Open the application’s settings and find the audio and video section.
Look for the camera selection option and make sure your laptop’s built in webcam is selected.
Sometimes an application may automatically select another camera, such as a virtual camera created by recording or streaming software.
Selecting the correct webcam can immediately solve the problem.
12. Check Your Antivirus and Privacy Software
Some antivirus and security programs include webcam protection features.
These features are designed to prevent unauthorized applications from accessing your camera, but they can occasionally block applications that you trust.
If you recently installed security software and your webcam stopped working afterward, check its privacy settings.
Look for options related to webcam protection or camera access and make sure your video calling application has permission.
Do not disable security protection permanently. Instead, adjust the camera permissions when possible.
13. Disconnect External Cameras
If you have connected a USB webcam, disconnect it temporarily.
Then restart Windows and test the laptop’s built in webcam.
If you have multiple cameras connected, Windows or your application may select the wrong device.
For an external webcam, try another USB port as well. A faulty USB port or loose connection can make the camera appear unavailable.
14. Check for Hardware Problems
If none of the software solutions work, there may be a hardware issue.
This is more likely if the webcam does not appear in Device Manager at all, especially after reinstalling the correct drivers.
Physical damage around the laptop screen can also affect the camera because the webcam is usually located near the top bezel.
If your laptop was recently dropped, exposed to liquid, or physically damaged, professional inspection may be necessary.
Final Thoughts
When your webcam is not working on a Windows laptop, the problem is not always a broken camera. In my experience, privacy permissions, disabled cameras, outdated drivers, application settings, and temporary Windows issues are often responsible.
I recommend starting with the physical camera switch and Windows privacy settings. Then test the webcam with the Camera app before moving to Device Manager and driver troubleshooting.
If the webcam works in one application but not another, focus on that application’s camera permissions and settings. If Windows cannot detect the webcam anywhere, investigate the driver and hardware side of the problem.
The most important thing is to take the troubleshooting process one step at a time. There is no need to immediately reset Windows or replace your laptop.
With the right settings and a little patience, many webcam problems can be fixed quickly, allowing you to get back to video calls, online meetings, classes, and everyday communication without unnecessary expense.