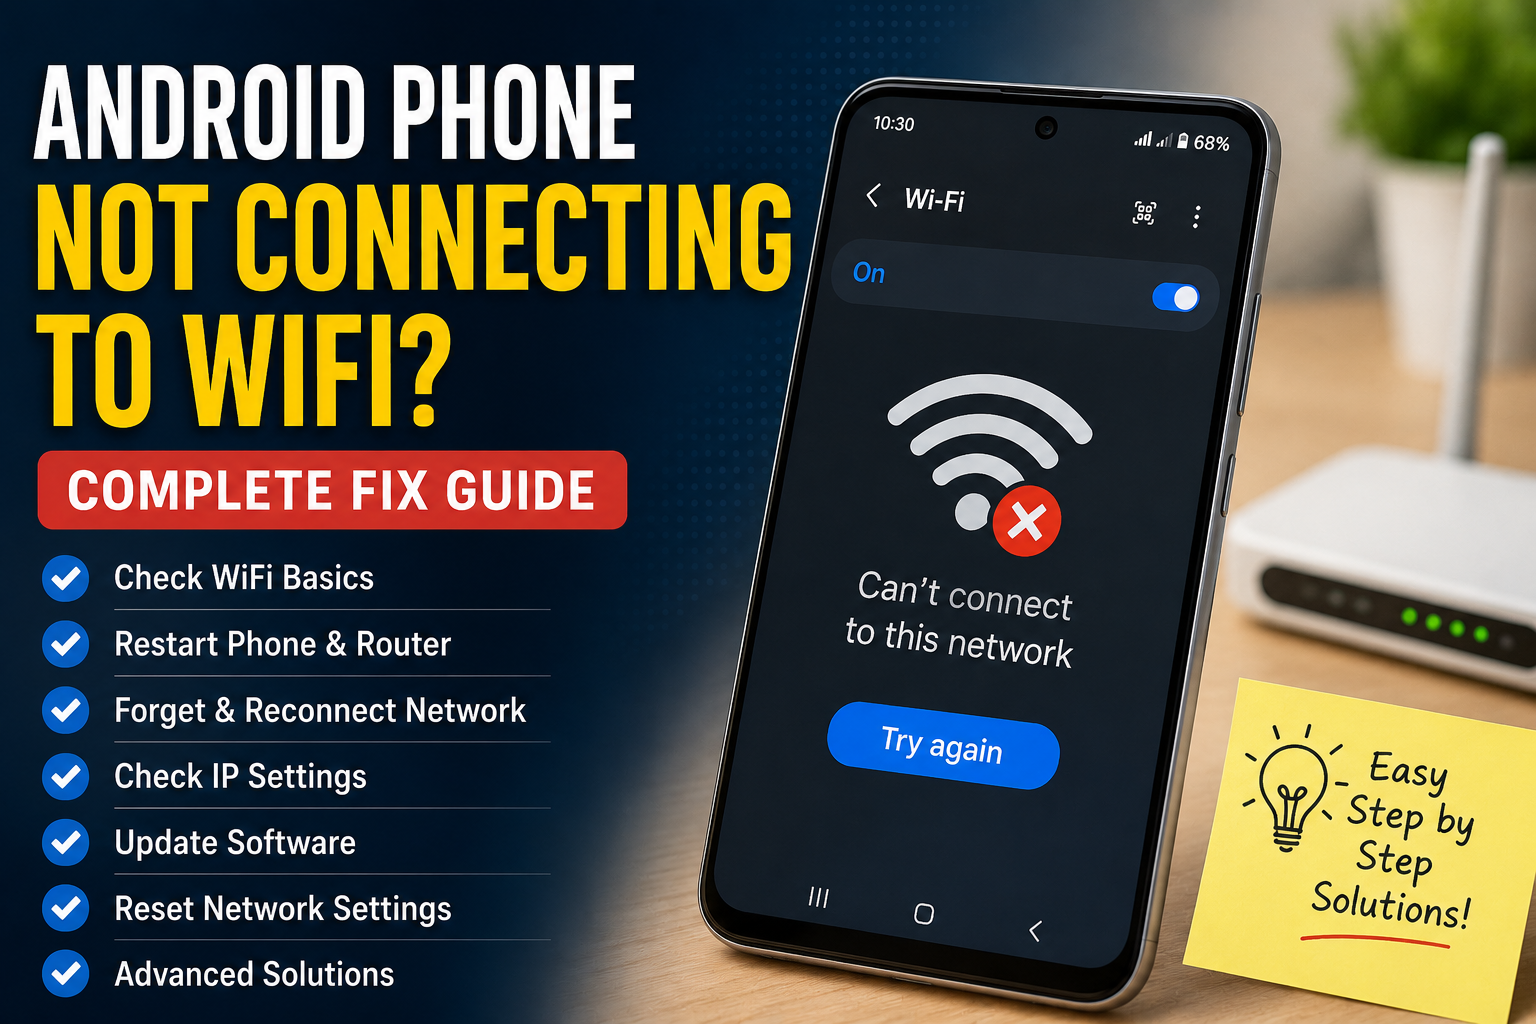
WiFi is something I rely on every day, so when my Android phone suddenly refuses to connect to a WiFi network, it can become annoying very quickly. Sometimes the phone sees the network but will not connect. In other situations, it connects to WiFi but says there is no internet. There are also cases where the WiFi option itself behaves strangely.
The good news is that an Android phone not connecting to WiFi does not always mean there is something seriously wrong with the device. In many cases, the problem is related to a temporary software issue, incorrect network settings, router problems, a forgotten password, or weak signal strength.
In this guide, I will explain the steps I would personally try when Android WiFi is not working. I recommend starting with the simple solutions and moving toward advanced fixes only if necessary.
Why Is My Android Phone Not Connecting to WiFi?
There are several reasons why your Android phone may not connect to WiFi.
The WiFi router may have temporarily stopped working. Your phone may have saved incorrect network information. The WiFi password may have changed. A software problem could be preventing the phone from establishing a connection.
Other possibilities include weak WiFi signals, IP address conflicts, incorrect network settings, outdated software, VPN problems, or issues with the router itself.
The first thing I would do is determine whether the problem affects only your Android phone or every device connected to the same WiFi network. This simple test can save a lot of time.
1. Check Whether WiFi Is Turned On
Start with the most basic thing.
Open the quick settings panel on your Android phone and make sure WiFi is enabled. You can also open Settings and check the WiFi section.
If WiFi is already enabled but the phone does not connect, turn it off, wait several seconds, and turn it on again.
Then select your WiFi network from the available network list.
Sometimes a temporary wireless connection problem can be fixed simply by reconnecting the WiFi feature.
2. Check Your WiFi Password
An incorrect password is one of the most common reasons an Android phone cannot connect to WiFi.
If you recently changed your router password, your Android phone may still have the old password saved.
Try entering the current password carefully.
Remember that WiFi passwords are case sensitive. A small typing mistake can prevent the connection.
If you are not sure about the password, check the router information or ask the person who manages the network.
3. Restart Your Android Phone
A simple restart can fix temporary network problems.
If your Android phone was connected to WiFi earlier but suddenly stopped connecting, restart the phone and try again.
Restarting closes temporary processes and gives the operating system a fresh start.
I always recommend this before changing advanced network settings because it is quick, safe, and does not remove your personal files.
After restarting, turn WiFi on and select your network again.
4. Restart Your WiFi Router
If your Android phone cannot connect but other devices are also having problems, the router may be the real cause.
Turn off the router using its power button or disconnect it from the power source if appropriate. Wait for a short period and then turn it back on.
Give the router enough time to fully reconnect to the internet.
Once the WiFi network appears again, try connecting your Android phone.
If other devices also cannot access the internet, this is a strong sign that the problem is not limited to your Android phone.
5. Forget the WiFi Network and Reconnect
One of my favorite solutions for WiFi problems is forgetting the saved network and connecting again.
Open your Android WiFi settings and select the network that is causing the problem.
Choose the option to forget the network.
After that, search for available networks again and select your WiFi network. Enter the password carefully and connect.
This removes the old saved connection information and creates a fresh connection.
It can be especially helpful when the router settings have changed or the phone has stored incorrect network information.
6. Move Closer to the Router
WiFi signal strength can have a major effect on connectivity.
If you are far away from the router, try moving closer and testing the connection again.
Walls, floors, furniture, appliances, and other objects can reduce wireless signal strength.
If your Android phone connects normally when you are close to the router but struggles in another room, the problem may be related to WiFi coverage rather than the phone.
In that situation, improving router placement or using a suitable WiFi extender may provide a better long term solution.
7. Check Whether Other Devices Can Connect
This is one of the most useful troubleshooting tests.
Try connecting another phone, laptop, or tablet to the same WiFi network.
If other devices connect successfully but your Android phone does not, focus on the phone.
If no devices can connect, focus on the router or internet service.
This simple comparison helps identify which side of the connection is causing the problem.
8. Turn Airplane Mode On and Off
Airplane Mode can also be useful for refreshing wireless connections.
Turn Airplane Mode on and leave it enabled for several seconds. Then turn it off again.
After that, enable WiFi and try connecting to your network.
This can refresh the phone’s wireless connections and may solve a temporary connectivity issue.
It is a simple step, but I think it is worth trying before moving into more complicated troubleshooting.
9. Check Date and Time Settings
Incorrect date and time settings can sometimes cause connection or authentication problems.
Open your Android settings and check the date and time section.
I recommend enabling automatic date and time if the option is available.
This allows the phone to synchronize its clock with the network.
After correcting the date and time, restart the WiFi connection and try again.
10. Disable VPN Temporarily
If you use a VPN on your Android phone, temporarily disable it and test the WiFi connection.
A VPN normally should not prevent WiFi from connecting, but configuration problems can sometimes interfere with internet access.
If WiFi works after disabling the VPN, check the VPN application settings or update the application.
You can then enable the VPN again once you have identified the problem.
11. Check Private DNS Settings
Android includes Private DNS settings that can affect how your device handles internet connections.
If you recently changed Private DNS settings, try returning them to the automatic or default option.
The exact location of this setting can vary between Android versions and manufacturers.
I would avoid entering random DNS addresses from unknown sources. If you are not familiar with DNS settings, the automatic option is usually the simplest choice for troubleshooting.
12. Check IP Settings
Sometimes an Android phone may have trouble receiving an IP address from the router.
Open the details for your WiFi network and check the available IP settings.
In most normal home networks, the phone should use automatic IP configuration through DHCP.
If the network has been manually configured, incorrect IP information could prevent the phone from connecting properly.
Unless you understand your network configuration, I recommend using the automatic setting.
13. Update Your Android Phone
Software bugs can sometimes affect WiFi performance.
Check whether your Android phone has a pending system update.
If an update is available, install it when your battery is sufficiently charged and you have a stable internet connection through another method if necessary.
Manufacturers frequently release updates that improve system stability and fix connectivity problems.
Also keep important applications updated, particularly applications that manage network connections.
14. Reset Network Settings
If the basic solutions do not work, resetting network settings is one of the strongest troubleshooting steps.
Android phones usually include a network reset option in the system settings.
The exact name and location can vary depending on the phone manufacturer.
A network reset can remove saved WiFi networks, Bluetooth connections, and certain cellular network configurations.
Because of this, make sure you know your WiFi passwords before performing the reset.
After resetting network settings, restart your phone and reconnect to your WiFi network.
15. Try Another WiFi Network
Another useful test is connecting your Android phone to a completely different WiFi network.
You could try a friend’s WiFi, a public network, or another trusted connection.
If your phone connects normally to another network, the Android hardware is probably working and the original router or network configuration may be responsible.
If your phone cannot connect to multiple different WiFi networks, the problem is more likely to be related to the phone itself.
This test can help narrow down the problem considerably.
What If Android Says Connected but No Internet?
Sometimes the Android phone successfully connects to WiFi but displays a message saying there is no internet.
In this situation, the WiFi connection between the phone and router may be working, while the router itself cannot access the internet.
Restart the router and check another device.
If every device shows no internet, contact your internet service provider or check for an outage.
If only your Android phone has the problem, forget the network and reconnect. You can also try resetting network settings.
When Should You Get Professional Help?
If your Android phone cannot connect to any WiFi network even after trying the software solutions, there could be a hardware problem.
This becomes more likely if the phone has recently been dropped, exposed to water, or physically damaged.
Before paying for repairs, I recommend testing several WiFi networks and installing available software updates.
If the phone consistently fails to detect networks or the WiFi function keeps turning off by itself, professional inspection may be appropriate.
How to Prevent Future WiFi Problems
Keeping your Android phone updated is one of the easiest ways to avoid software related problems.
I also recommend keeping your router firmware updated when appropriate and placing the router in an open location where the wireless signal can travel effectively.
Avoid changing advanced network settings unless you know what they do.
It is also useful to remember your WiFi password and keep your router information accessible in case you need to reconnect after a network reset.
Final Thoughts
When an Android phone is not connecting to WiFi, I would not immediately assume that the phone is damaged. Start with simple checks such as turning WiFi off and on, checking the password, restarting the phone, and restarting the router.
If that does not work, forget the WiFi network and reconnect. Then check signal strength, Airplane Mode, VPN settings, Private DNS, IP configuration, and Android updates.
For more difficult problems, resetting network settings can often provide a fresh start.
The most important thing is to troubleshoot logically. Test another device on the same network and test your Android phone on another WiFi network. These two tests can quickly tell you whether the problem is with your phone or the network.
In my view, most WiFi problems can be solved without a repair shop if you take the time to check each possibility carefully. However, if the phone fails to connect to every WiFi network and the normal software solutions do not help, professional assistance may be the right choice.
With these steps, you should be able to diagnose and fix many common Android WiFi connection problems and get your phone back online without unnecessary expense.